Describe and manage role mapping between Prism Element and Prism Central
Configuring Role Mapping on Prism Central will NOT let you log into Prism Element with Active Directory credentials. Configuring role mapping on Prism Central will allow you to launch Prism element from Prism Central; but it will NOT allow direct login.
Configure Authentication Source
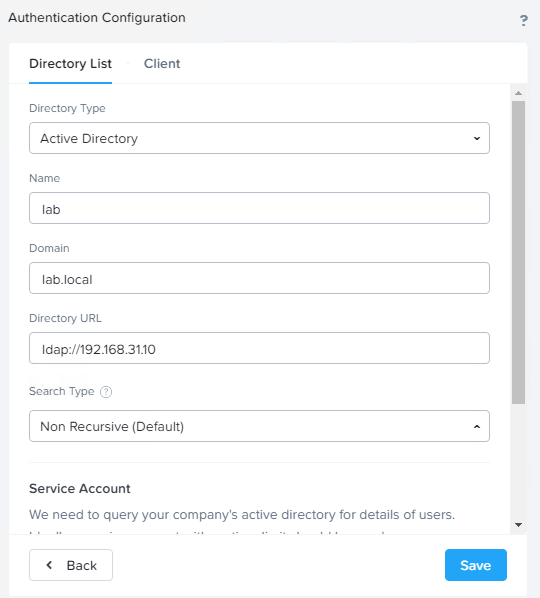
When user authentication is enabled for a directory service, all authorized users have full administrator permissions by default. You can refine the authentication process by assigning a role (with associated permissions) to organizational units (OUs), groups, or individuals within a directory. To assign roles, do the following:
Configure Role Mapping
- In the gear icon pull-down list of the main menu, select Role Mapping.
- To create a role mapping, click the New Mapping button.
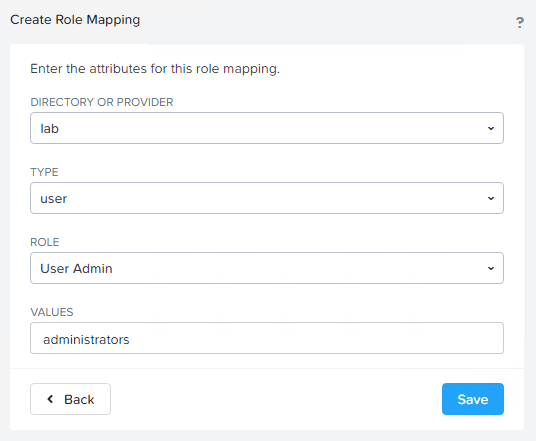
- The Create Role Mapping window appears. Do the following in the indicated fields:
- Directory: Select the target directory from the pull-down list.
- Only directories previously defined when configuring authentication appear in this list. If the desired directory does not appear, add that directory to the directory list and then return to this procedure.
- LDAP Type: Select the desired LDAP entity type from the pull-down list.
- The entity types are GROUP, USER, and OU.
- Role: Select the user role from the pull-down list.
- There are three roles from which to choose:
- Viewer: This role allows a user to view information only. It does not provide permission to perform any administrative tasks.
- Prism Central Admin: This role (formerly called “Cluster Admin”) allows a user to view information and perform any administrative task (but not create or modify user accounts).
- User Admin: This role allows the user to view information, perform any administrative task, and create or modify user accounts.
- There are three roles from which to choose:
- Values: Enter the case-sensitive entity names (in a comma separated list with no spaces) that should be assigned this role.
- The values are the actual names of the organizational units (meaning it applies to all users in those OUs), groups (all users in those groups), or users (each named user) assigned this role. For example, entering value “admin-gp,support-gp” when the LDAP type is GROUP and the role is Prism Central Admin means all users in the admin-gp and support-gp groups should be assigned the Prism Central administrator role.
- Note: Do not include a domain in the value, for example enter just admin-gp, not admin-gp@nutanix.com. However, when users log into Prism Central, they need to include the domain in their user name (see Logging Into Prism Central).
- When all the fields are correct, click the Save button (lower right).
- This saves the configuration and redisplays the Role Mapping window. The new role map now appears in the list.
- Note: All users in an authorized service directory have full administrator permissions when role mapping is not defined for that directory. However, after creating a role map, any users in that directory that are not explicitly granted permissions through the role mapping are denied access (no permissions).
- Repeat this step for each role map you want to add.
- You can create a role map for each authorized directory. You can also create multiple maps that apply to a single directory. When there are multiple maps for a directory, the most specific rule for a user applies. For example, adding a GROUP map set to Prism Central Admin and a USER map set to Viewer for select users in that group means all users in the group have administrator permission except those specified users who have viewing permission only.
- Directory: Select the target directory from the pull-down list.
- To edit a role map entry, click the pencil icon for that entry.
- After clicking the pencil icon, the Edit Role Mapping window appears, which contains the same fields as the Create Role Mapping window (see step 2). Enter the new information in the appropriate fields and then click the Save button.
- To delete a role map entry, click the “X” icon for that entry.
- After clicking the X icon, a window prompt appears to verify the delete action; click the OK button. The entry is removed from the list.
- Click the Close button to close the Role Mapping window.

Log into Prism Central with Active Directory Credentials
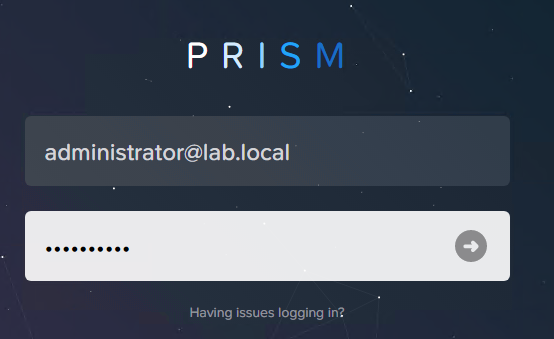

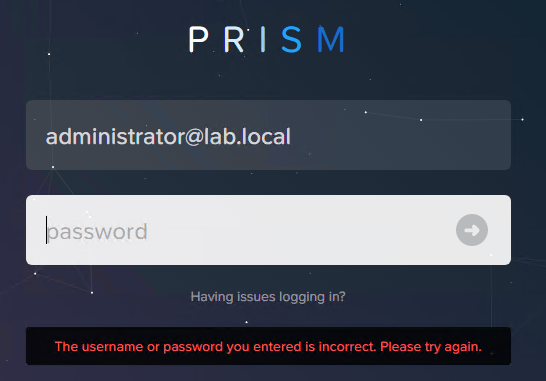
Log into Prism Element with Active Directory Credentials